Friday, February 21, 2014

Genymotion - Emulating Android on GNU/Linux

Introduction

Note: This tutorial is based on Ubuntu 12.04 LTS 32-bit . Installing other distros do not differ significantly, ie you can install on your preferred distribution. As is seen, the emergence of mobile devices have created new business opportunities, and today days, there are many developers only develop for this segment. Parallel to all this, a project has gained much prominence in recent times on the Internet, called Genymotion . As said, the Genymotion is an emulator operating systemAndroid , and with it, you start to have multiple Android devices (virtual) on your system GNU/Linux to test Android applications and features.

Main features of Genymotion:
  • Platform enables the download and execution of pre-configured stock Android, with support for x86: Nexus 7 Jelly Bean, Jelly Bean Nexus S, Nexus One Jelly Bean, 10.1 "WXGA Tablet Jelly Bean, 7.0" WSVGA Tablet and Jelly Bean, all with or without Google Apps (Play store, etc.);
  • Network Support: Ethernet (Wi-Fi interface is emulated);
  • GPS;
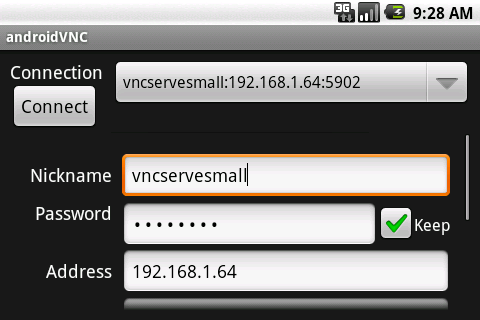
  • Support for ADB (tool to connect and send commands to the Android system through your GNU / Linux system);
  • Integration with Eclipse and Android Studio;
  • Display: OpenGL Hardware Acceleration, Multiscreen, Support for Fullscreen;
  • Automatically detects if a new version is available;
  • Multi-touch gestures (you can use gestures to zoom using mouse events).

Prerequisites

Note:. Genymotion to use, you need to install Oracle VirtualBox, preferably, the latest stable version Using Genymotion requires creating an online account here for later use it completely. After creating an account, download the Genymotion in your directory /home . Note: at the time this article was created, the version is 2.0.1 Genymotion. 


Installation

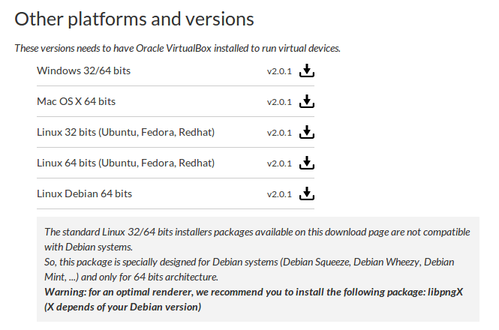
You need to make the downloaded executable binary file to execute it. To do this, open a terminal and run the following command:
 - For 32 bit systems: 
$ chmod +x genymotion-2.0.2_x86.bin
# ./genymotion-2.0.2_x86.bin


  - For 64-bit systems: 
$ chmod +x genymotion-2.0.2_x64.bin
# ./genymotion-2.0.2_x64.bin


  Ready! Just type y and pressENTER to install the program:


 Installing to folder /home/ricardo/Documentos/genymotion. Are you sure [y/n] ? y
    
  - Trying to find VirtualBox toolset .................... 
    OK (Valid version of VirtualBox found: 4.2.0r80737)
  - Extracting files ..................................... 
    OK (Extract into: /home/ricardo/Documentos/genymotion)
   
  Installation done successfully.
   
  You can now use these tools from /home/ricardo/Documentos/genymotion:
  - genymotion
  - genymotion-shell


Using Genymotion

If all went well, the installation of Genymotion created a directory called genymotion . Therefore, to run the program, use the following command:
$ cd /home/seuusuƔrio/Documentos/genymotion
$ ./genymotion
 
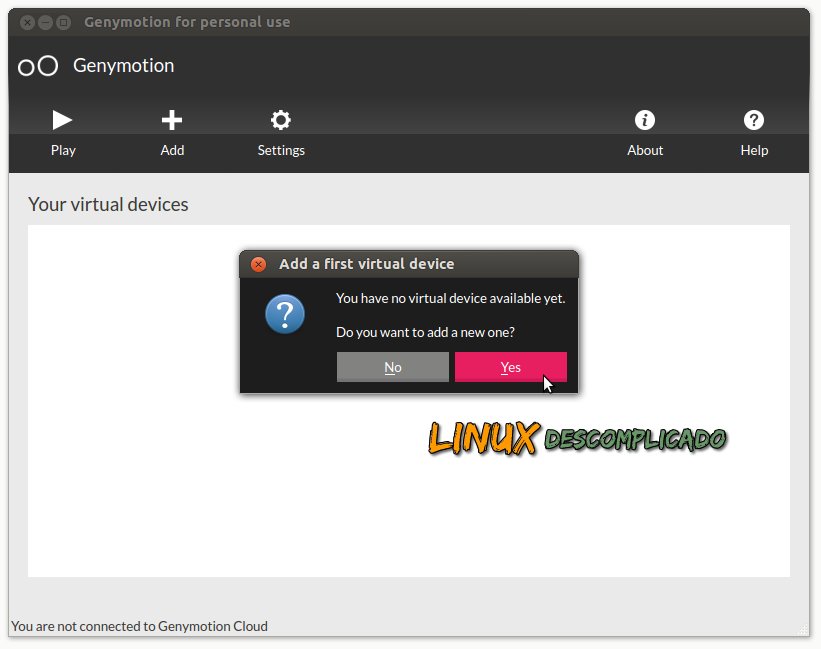
  The program will start. To add a new virtual device, click Add , login with your username, the password Genymotion account (created earlier) and you'll see a list of available devices: 


Linux: Genymotion - Emulating Android on GNU / Linux   Linux: Genymotion - Emulating Android on GNU / Linux

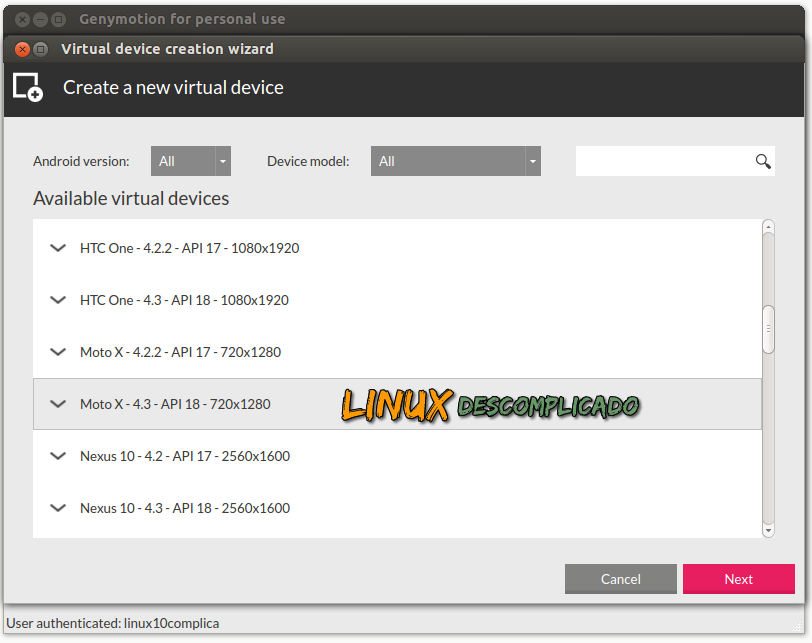
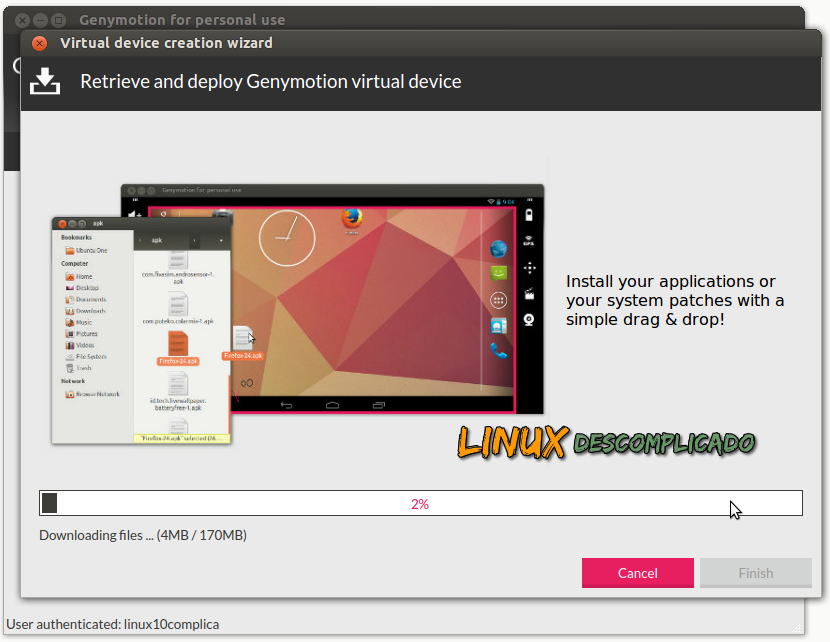
Select the virtual device you want to download the list and click Next and the download should start:
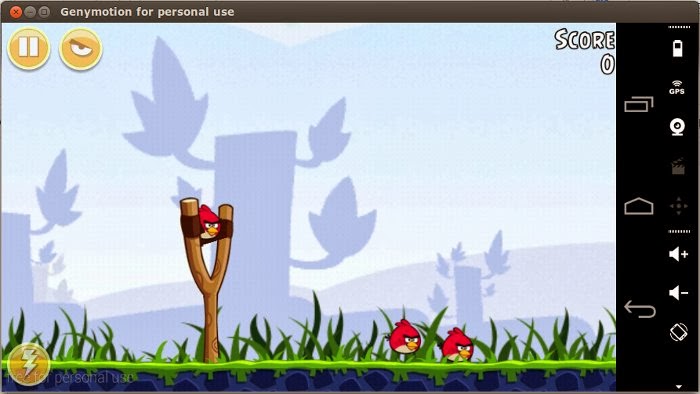
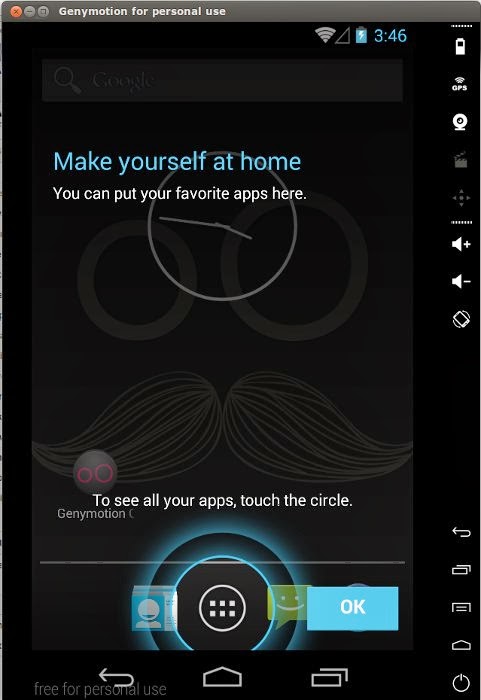
Linux: Genymotion - Emulating Android on GNU / Linux   Linux: Genymotion - Emulating Android on GNU / Linux
Click Next when the download is complete, enter a name for the new virtual device and click the Create and Finish . Then the device should appear in the main window Genymotion.To start a device, select it and click Play . 


Screenshots

Linux: Genymotion - Emulating Android on GNU / Linux   Linux: Genymotion - Emulating Android on GNU / Linux

More Info 

Official Website GenyMotion 
Run Android on Your Desktop With Genymotion Android Emulator 

Slackware 12.0 - Tor : anonymity online

Public domain

1- Install libevent

# wget http://www.monkey.org/~provos/libevent-1.3e.tar.gz
# tar -zxf libevent-1.3e.tar.gz
# cd libevent-1.3e
#./configure
# make
# make install
# ldconfig

2- Install Tor

# wget http://tor.eff.org/dist/tor-0.1.2.17.tar.gz
# tar -zxf tor-0.1.2.17.tar.gz
# cd tor-0.1.2.17
# ./configure --prefix=/usr/local/tor
# make
# make install
# mkdir -p /usr/local/tor/var/log/tor/
# vi /usr/local/tor/etc/tor/torrc 
    SocksListenAddress localhost
    SafeLogging 0
    RunAsDaemon 1
    Log notice file /usr/local/tor/var/log/tor/notices.log
    #Log debug file /usr/local/tor/var/log/tor/debug.log
# /usr/local/tor/bin/tor 
# tail -f /usr/local/tor/var/log/tor/notices.log
# tail -f /usr/local/tor/var/log/tor/debug.log

3- Install Privoxy

# vi /etc/passwd
    privoxy:*:7777:7777:privoxy proxy:/no/home:/no/shell
# vi /etc/group
    privoxy:*:7777:
# wget http://easynews.dl.sourceforge.net/sourceforge/ijbswa/privoxy-3.0.6-stable-src.tar.gz
# tar -zxf privoxy-3.0.6-stable-src.tar.gz
# cd privoxy-3.0.6-stable
# autoheader
# autoconf
# ./configure --prefix=/usr/local/privoxy
# make
# make install
# vi /usr/local/privoxy/etc/config 
    forward-socks4a / 127.0.0.1:9050 .
    listen-address  172.16.20.2:8118
# /usr/local/privoxy/sbin/privoxy /usr/local/privoxy/etc/config
# tail -f /usr/local/privoxy/var/log/privoxy/logfile

BY: Pejman Moghadam

Use any Tablet/Smartphone as extended monitor wireless in GNU/Linux

Introduction

Before we put our hands dirty, first, understand the concept and technologies involved in the solution. The resources used are present in any distribution GNU/Linux today, so I will not worry packages and their builds or installations of the same.

Technologies used

The technologies/resources used will be mentioned below. For further clarification, I suggest searching for more information on the official websites of each project. Operating the solution of this article, is the use of Xorg Dummy, Xinerama and VNC Server . The junction of these, lets get the functionality of an extended wireless monitor next to the VNC client installed on the mobile device. Tools: 

  • Xorg Dummy :: In this solution, we'll use the Xserver Dummy to allow booting virtual screen, ie, contrary to conventional X server that will not start without a monitor, Dummy allows such an operation. 
  • Xinerama :: is used because it is an extension of the X server, which lets you use more than one physical monitor with a single virtual display. Extremely useful herein. 
  • x11vnc :: Another important tool for this tutorial is the x11vnc because it is a VNC server that provides a Desktop XUnix specified in such a way that a remote VNC client, connects with full access to the actual screen graphic section 
  • Android-vnc-viewer :: This application Android-VNC , must be installed on your mobile device. Its main function will be to operate as a VNC client on the platform Android . If you are using a device with iOS or Windows Mobile, find a VNC client that works perfectly with this document.

With the installation instructions in this article, we will as a result, two or more monitors present in the GNU / Linux operating system. Below is an illustrative picture of the final result of the environment, the interesting thing is that we can move windows and mouse (s) monitor (s) for the conventional tablet as if by magic. If we want to go out with your Tablet in hand to another room. 

Linux: Use any Tablet / Smartphone as extended wireless monitor on GNU / Linux


Procedures

First, install the packages mentioned above ( Xinerama, x11vnx and Dummy ). Following the instructions in the distribution openSUSE . I suggest fetching instructions from your favorite distribution for installing the same. 

 #zypper in libXinerama1 libxcb-xinerama0 x11vnc xf86-video-dummy The magic is in the file 

 /etc/X11/xorg.conf , where we insert the following lines: In section ServerLayout enter 2 lines: 


Screen 1 "Screen1" Below "Screen0" 
Option "Xinerama" "1"

The first tells X that the wireless monitor will go below the main monitor as the second line, enable Xinerama feature. For comparison, the section ServerLayout would look like this: 


Section "ServerLayout"
    Identifier        "Layout0"
    Screen      0   "Screen0" 0 0
    Screen     1   "Screen1" Below "Screen0"
    InputDevice    "Keyboard0" "CoreKeyboard"
    InputDevice    "Mouse0" "CorePointer"
    Option          "Xinerama" "1"
EndSection
    

Now create the virtual device by entering the following lines: 

##Xdummy:##
Section "Device"
  Identifier "Device1"
  Driver "dummy"
  VideoRam 256000
EndSection

##Xdummy:##
Section "Monitor"
  Identifier "Monitor1"
EndSection

##Xdummy:##
Section "Screen"
  Identifier "Screen1"
  Device "Device1"
  Monitor "Monitor1"
EndSection

Now restart the X server ( rcxdm restart ) and we are ready to start blogging NERD. Run x11vnc preceded the parameters, as the following example: 
 #x11vnc -noxdamage clip xinerama1 -forever
  this line, just lift the VNC server on virtual screen (Dummy) we set the file xorg.conf . With this, just configure the application android-vnc-viewer with the IP of the machine running x11vnc running (assuming the device is connected to the wireless network with the main computer), plug it in and go! 


Linux: Use any Tablet / Smartphone as extended wireless monitor on GNU / Linux

Below is a video demonstration with the aim of providing the end result of the toy. With this, we can carry the tablet for a meeting and continue the running task. Anyway, the possibilities are endless.

see video in Youtube